- On the screen, as shown below, click ‘Add Account‘
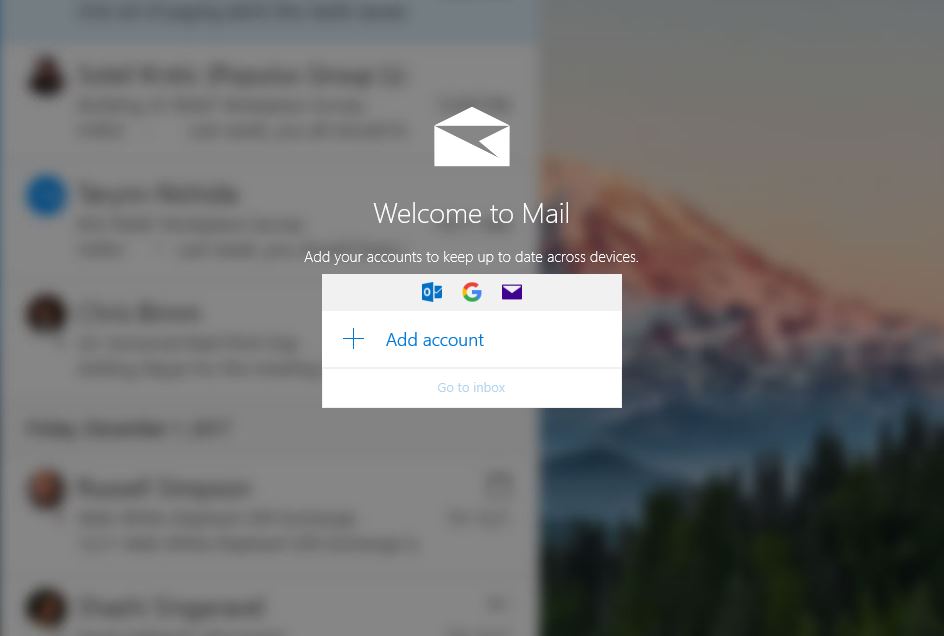
- If you’ve set up an account in Mail for Windows 10 before then you’ll see this screen instead:

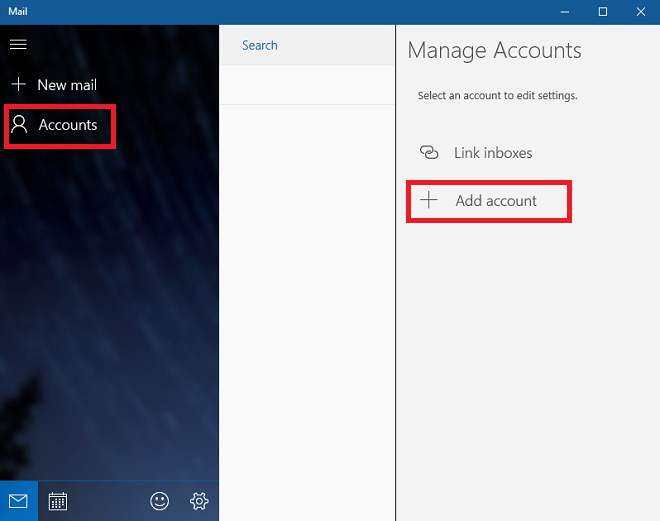
- Click on ‘Accounts‘ on the left and ‘Add account‘ from the menu which appears on the right
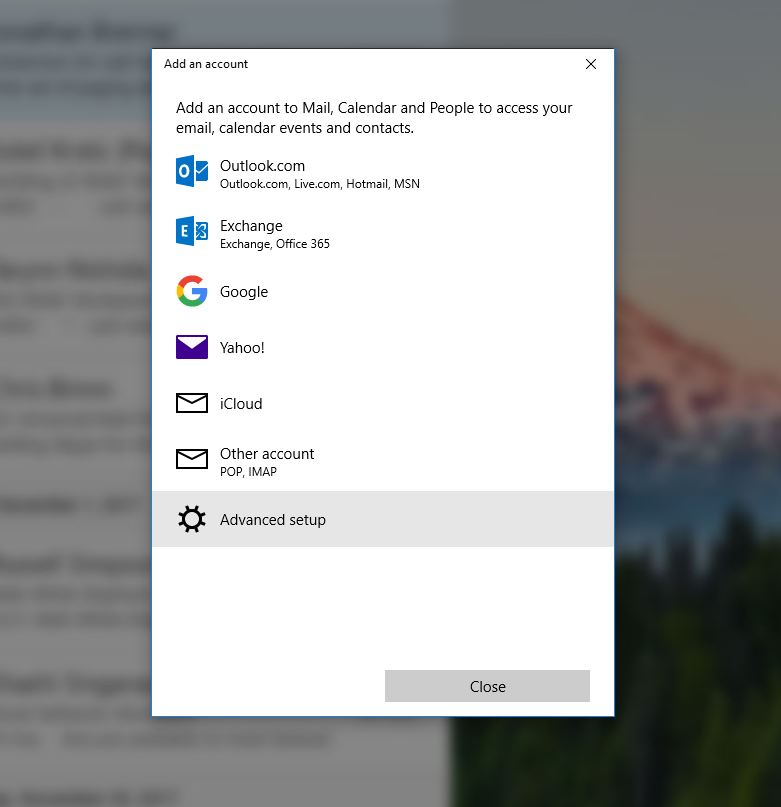
- You’ll now be asked to choose an account. Scroll down using the scroll bar on the right. Choose the bottom option ‘Advanced set-up‘
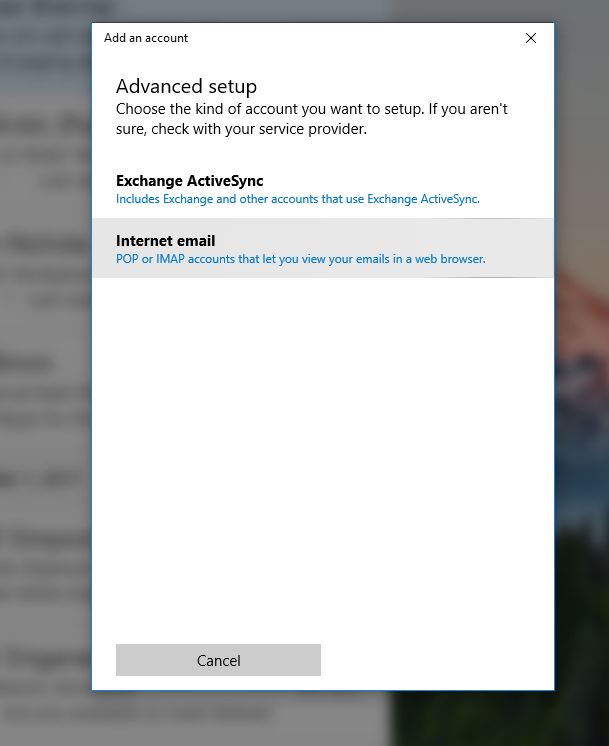
- On the next screen, choose the ‘Internet email‘
- You’ll now be prompted to enter/choose the following details (not all of these options will be visible on the screen at once but there is a scroll bar to the side which you can use as you progress through the steps):
- Account name:This is just a nickname or ‘label’ for the account. For example, if this is your work account you might choose the label ‘Work’
- Your name: How your name will appear when sending emails
- Incoming email server:mail.tibus.net
- Account Type: Click on the dropdown and choose ‘IMAP4’
- Email address: Enter the email address
- Username: Enter your full email address
- Password: Enter the password
- Outgoing (SMTP) email server: mail.tibus.net
Finally on this screen there are four tick boxes as follows:
- Outgoing server requires authentication
- Use the same username and password for sending email
- Require SSL for incoming email
- Require SSL for outgoing email
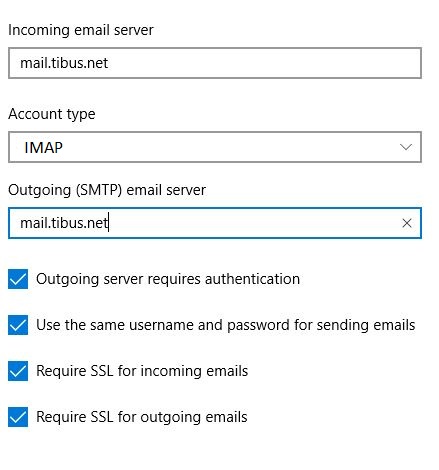
- These will be ticked by default and you should leave all four of these ticked
- You should now click on ‘Sign in‘
If you are having problems setting up your account, please contact Tibus Support